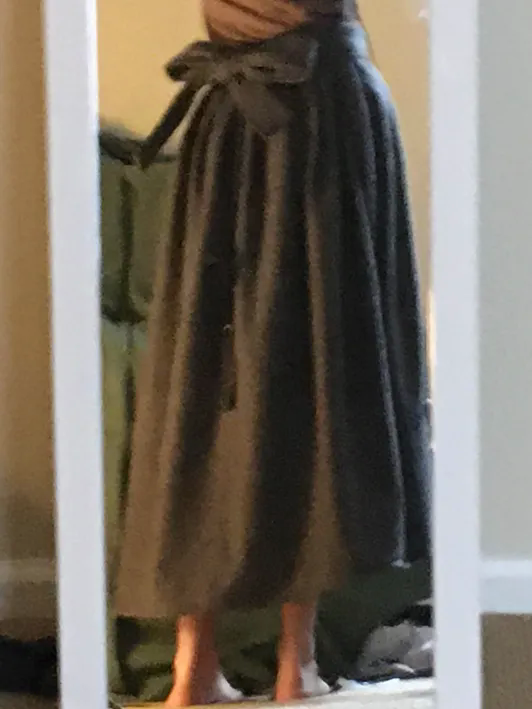
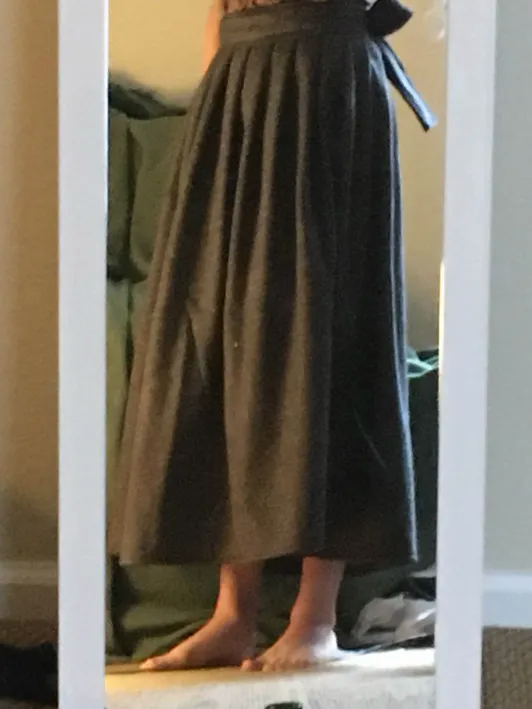
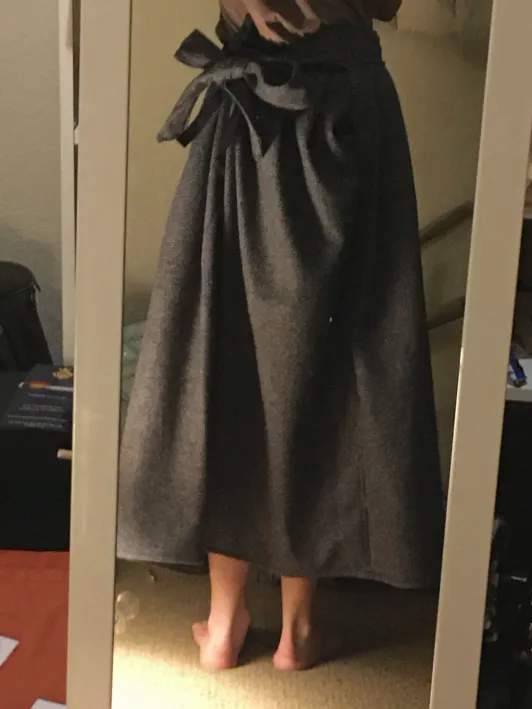
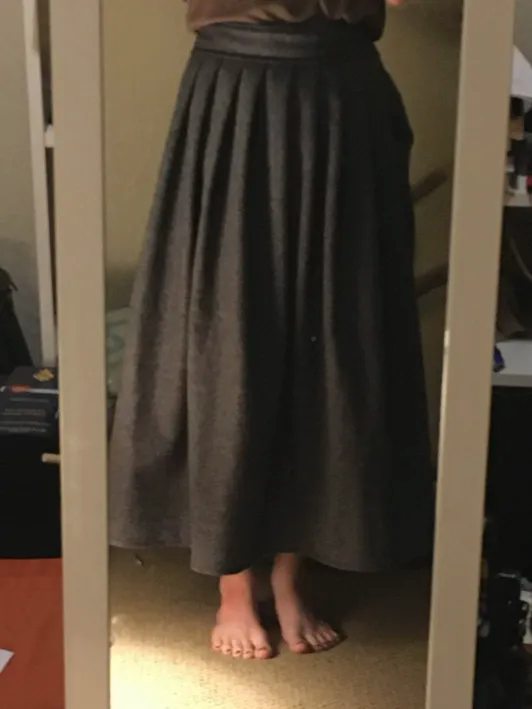
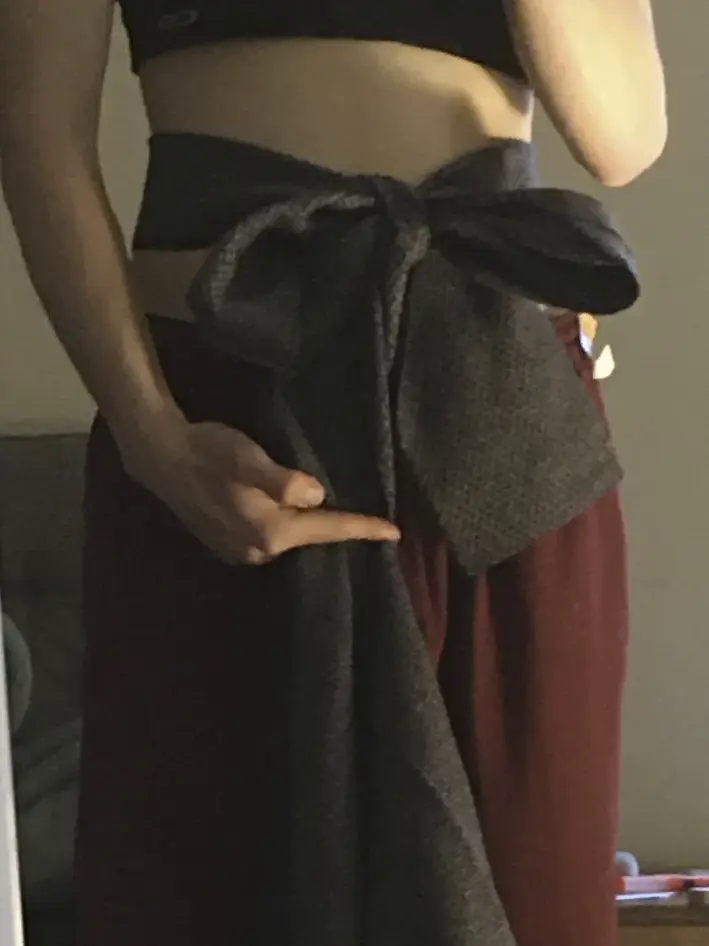
skirt
this is an old fashioned petty coat made of some nice warm wool. winter skirt.
made this because of this video.
The Zero-Waste 18th Century Skirt That ALWAYS Fits; Beginner Sewing Tutorial (No Pattern Needed!)
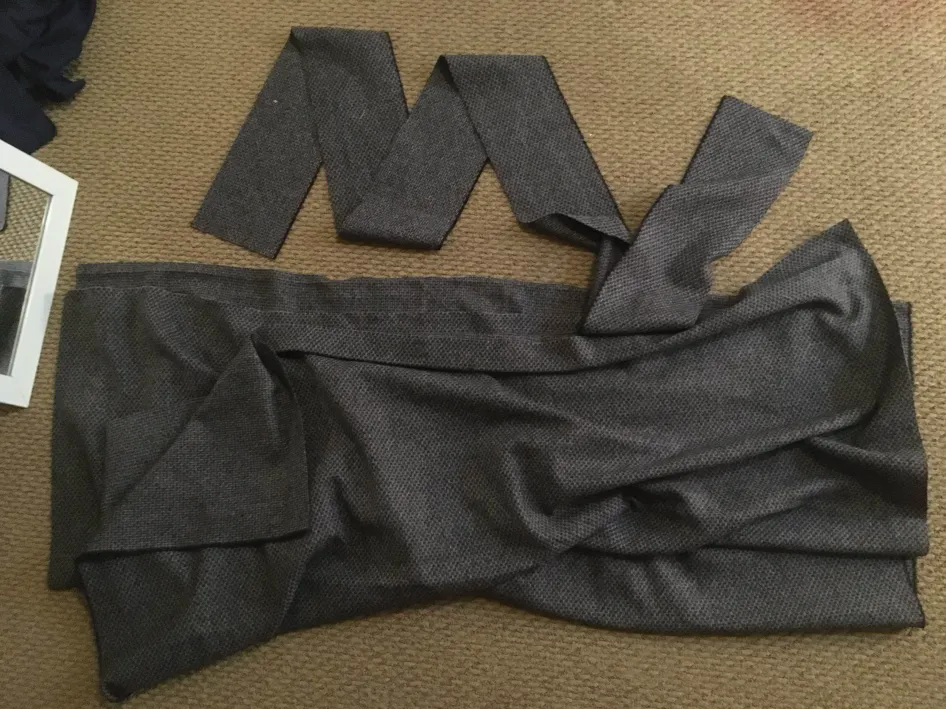
these old fashoned petty coats are made with two font and back panels, and two waist bands for holding the panels to your body. these are the pieces we will need for the whole skirt.

- front panel
- back panel
- front waist band
- back waist band
the back waist band is not in this picture but here are the pieces from the wool block.
Panel Sizing
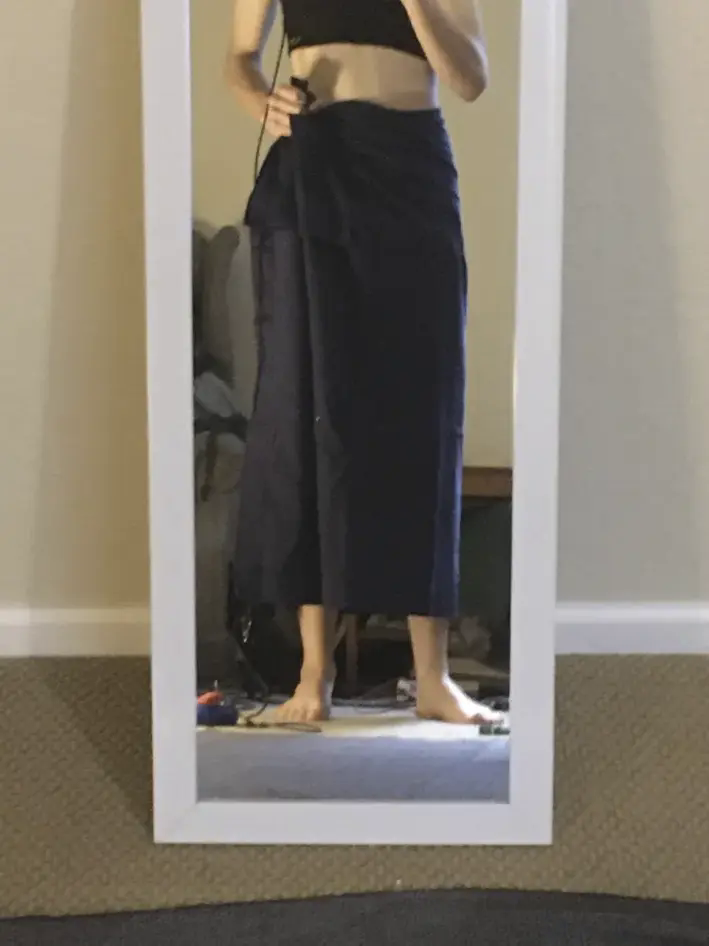
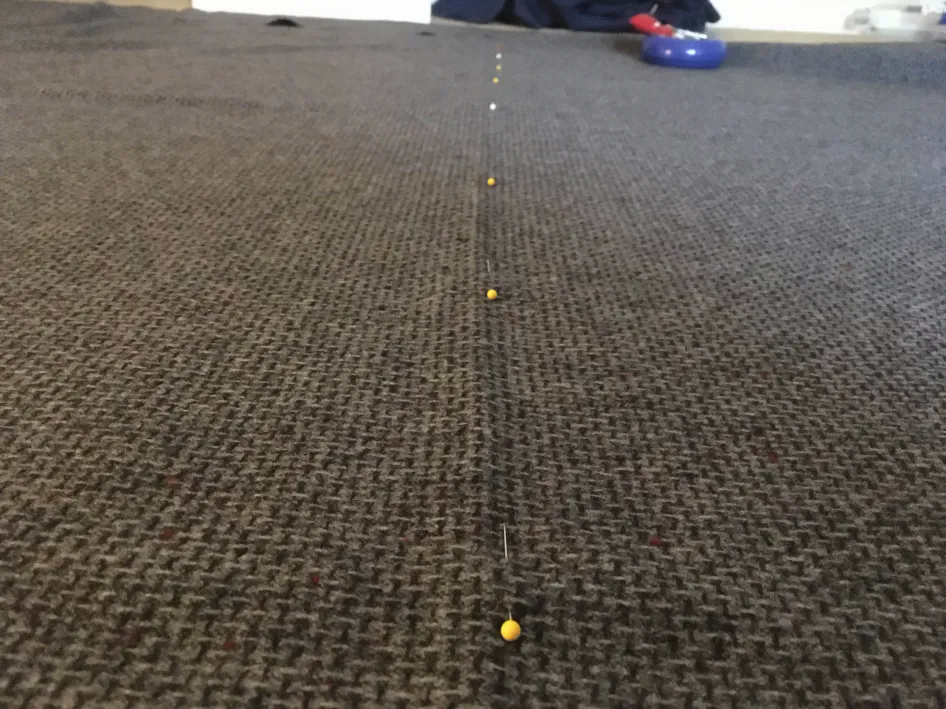
first needed to figureout how much fabric to use. its 105cm from the floor to my waist height. this is me trying to figure out how long to make the skirt using a pined up table cloth. then the pined up the block of fabric to double check. didn't want to worry about my feet grabbing the skirt while walking about, this length looked good enough.
it took a while to figure out how i wanted to cut the fabric. the block of fabric was 150cm from salvage to salvage. the weave of the fabric was less strechy when going with the salvaged edge.
ended up cutting the panels at 95cm x 135cm. the rest of the blocks width was used for the front waist band.
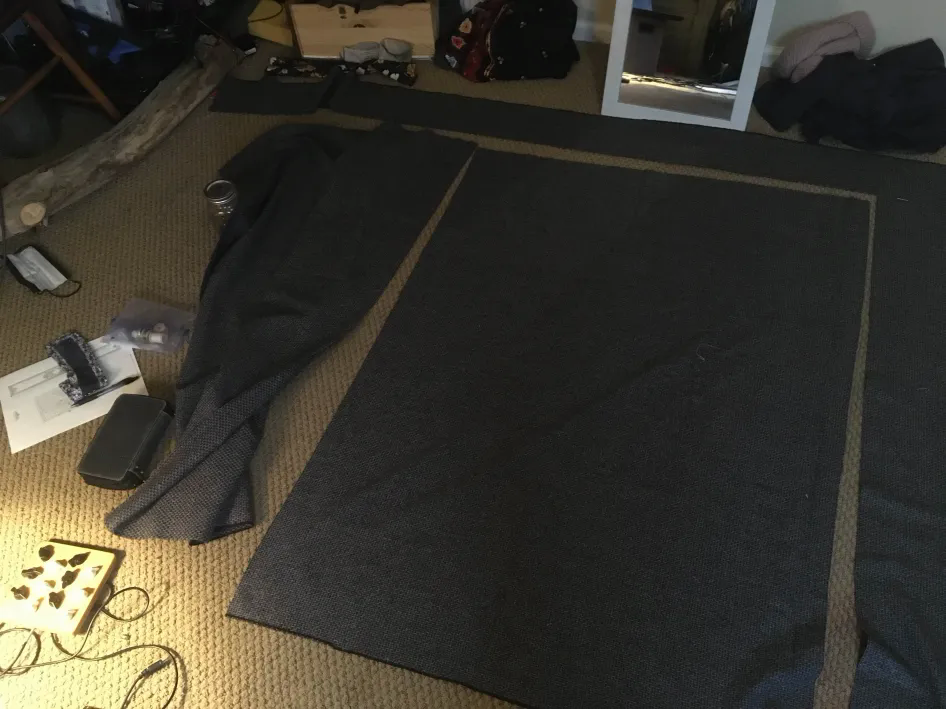
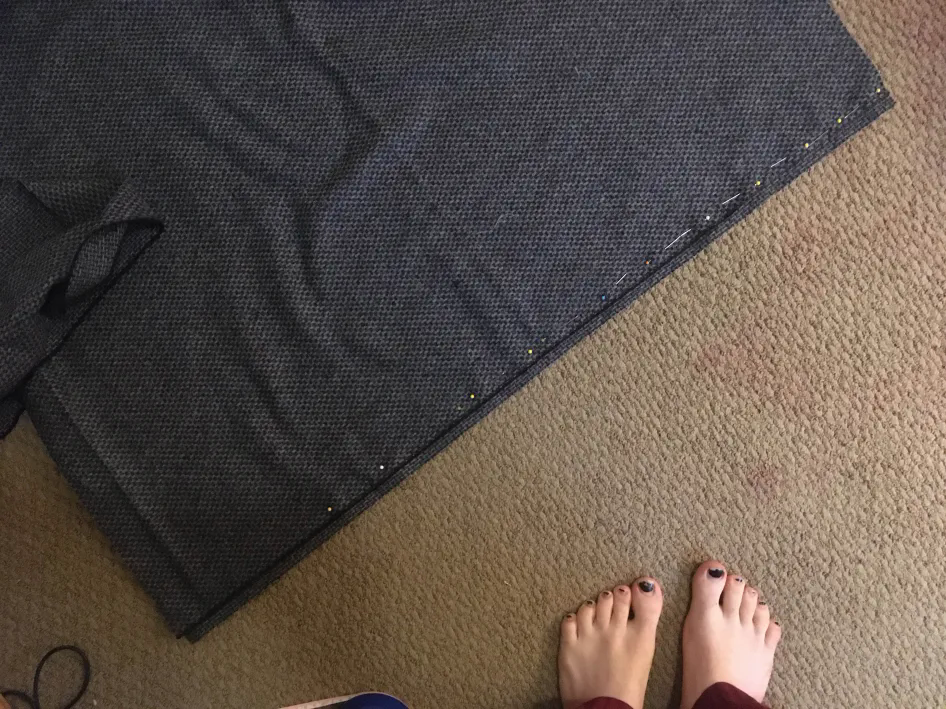
used pins to mark a strait line for cutting. that + the grid pattern of the fabric made strait cuts easier.
in this picture im matching up the fabric so that i know that they are the same height. matched up the pattern line by line because this wool fabric was quite flexable, didn't trust "just mesuring it".

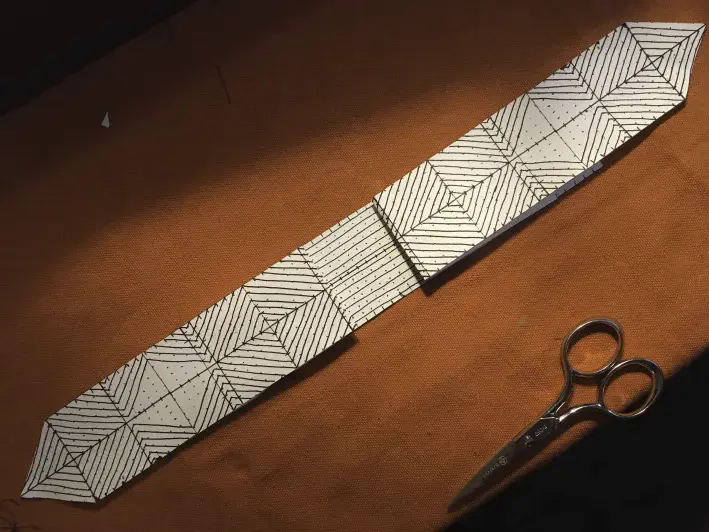
Front waist band Sizing
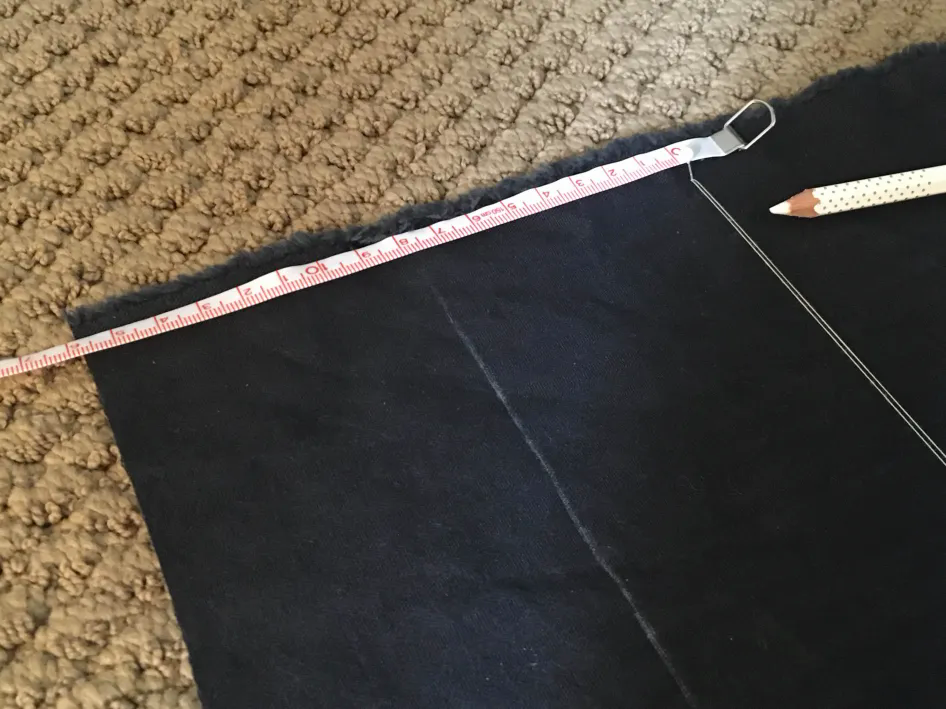
the peice for the front waist band was 15cm wide. the length was the height of each of the panels (so 190cm) + about 15cm extra because i liked the shape of the bow that length made.
Back waist band Sizing
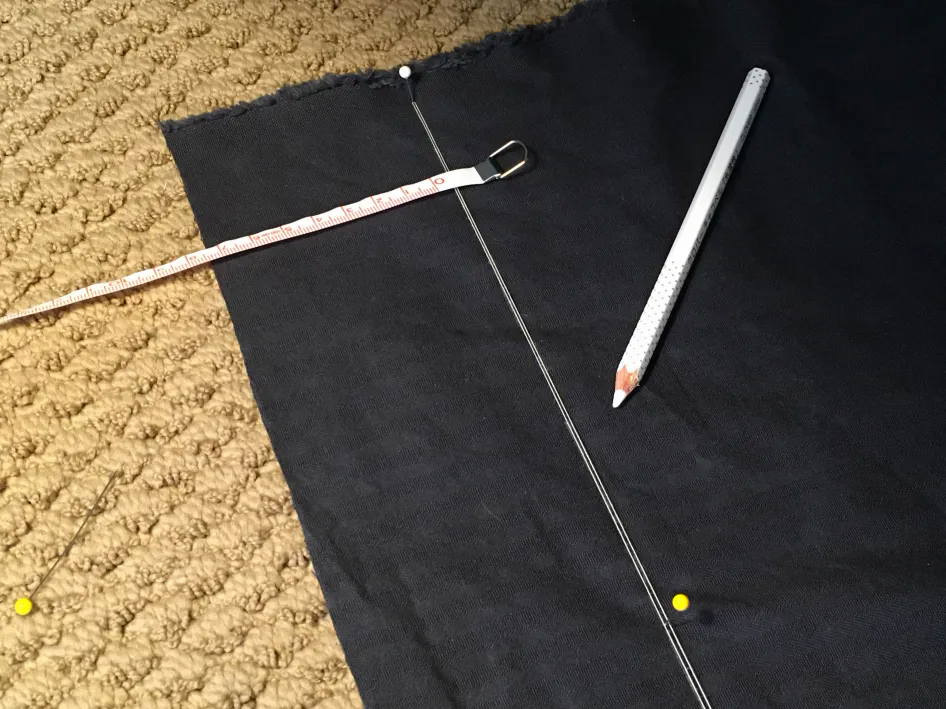
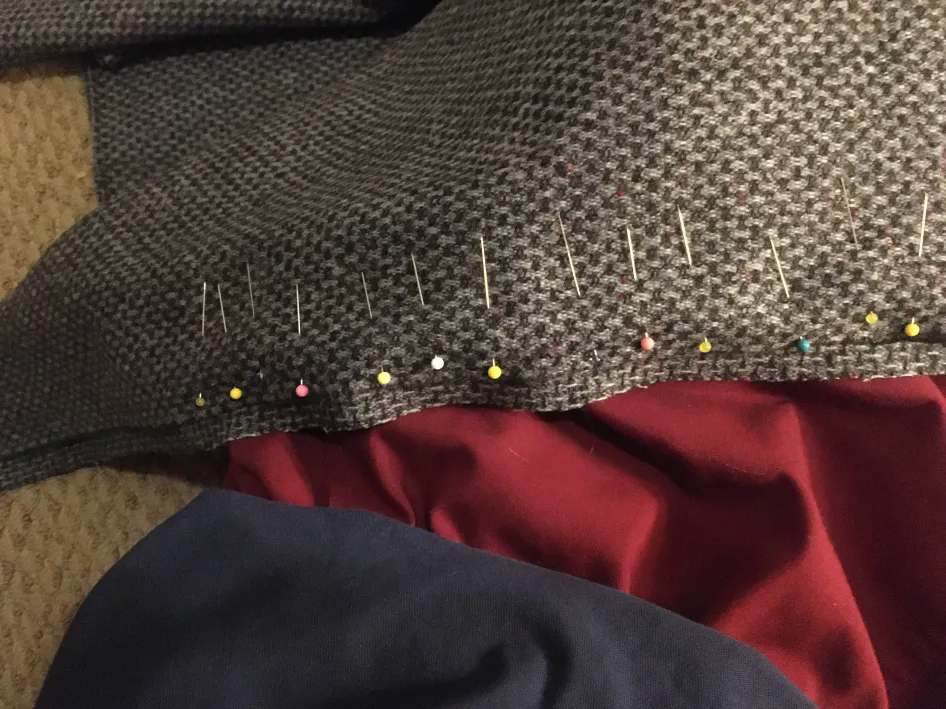
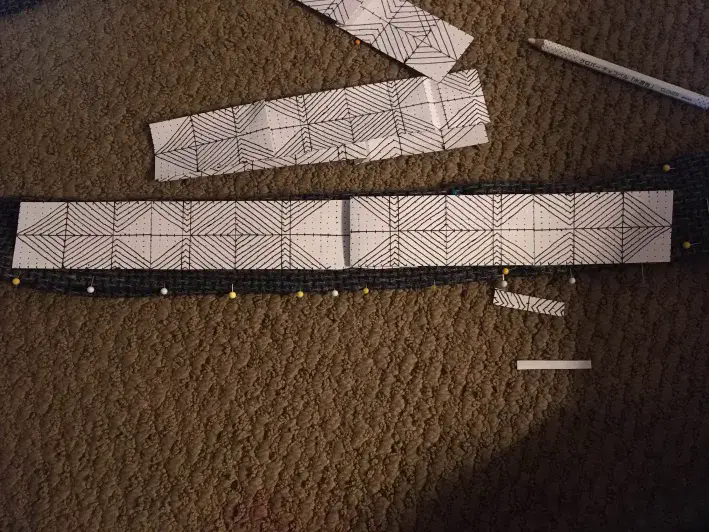
the back waist band was from a diffrent block of fabric: some black cotton. it was 8cm wide. cut two strips to join them together to make a longer waist band so it could go twice around the waist if i wanted. used pins and white thread to hold a strait line that could be tranced with a white charcol pencil. the pencil markings make a strait line for cutting.
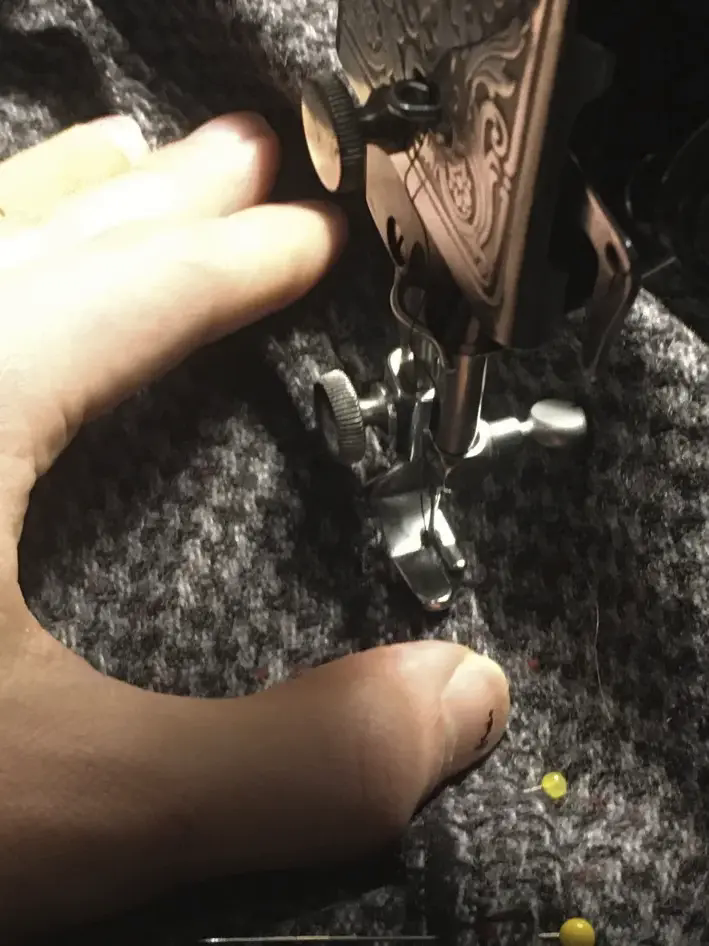
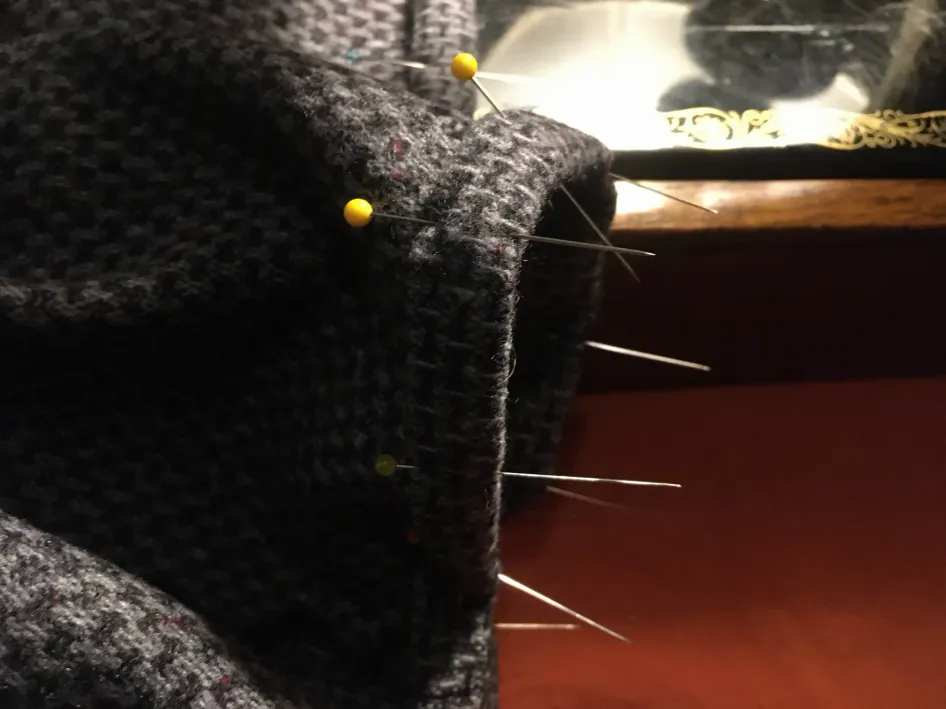
Sitching Panels Together
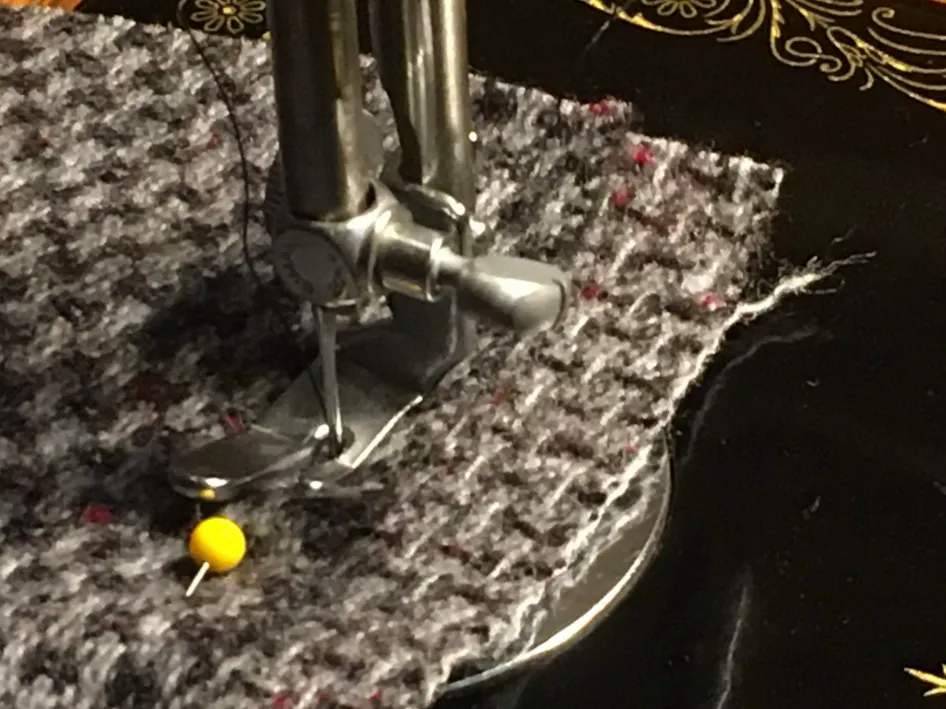
used pins to make sure that the top and bottom pieces stayed in sync. my left hand acted as a top feed dog to make sure the machine didn't pull the two pieces unevenly.
while making the seam we stop just before the side gap
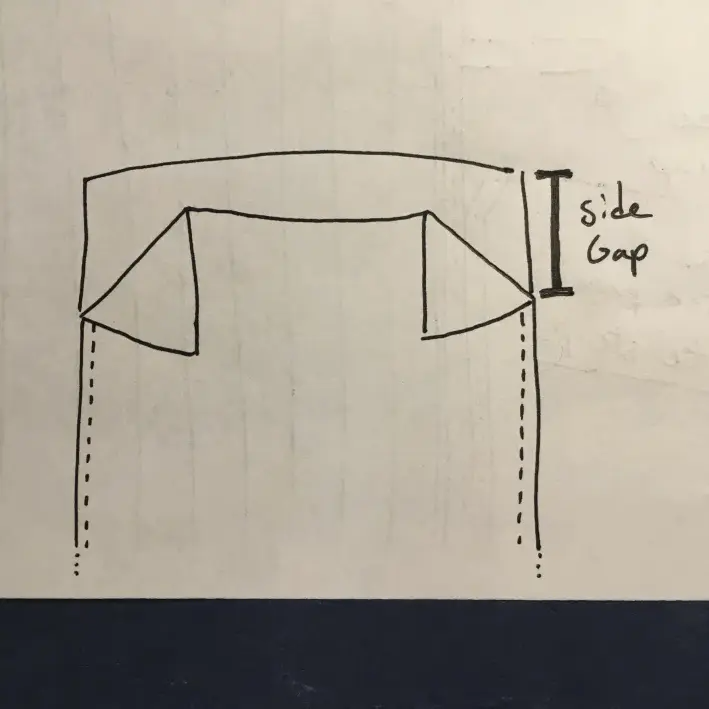
here i am sizing what the size gap should be: which was the finished front wasit band width (6cm) + width of hand (9cm) + ease (3cm). yeah, it was something like 20cm from the top of the panel to the bottom of the side gap.
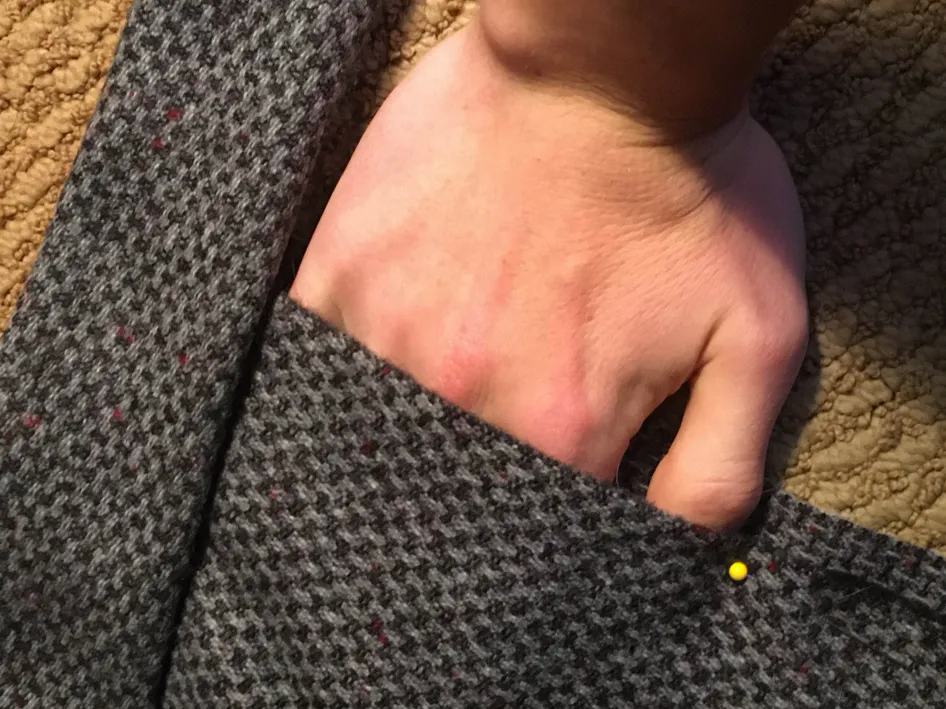
here is a drawing of the side panel seam. folded over the live edge to keep the weave from fraying. wouldn't have been something to do if i had gone salvage to salvage but i really wanted that front waist band to run with the long threads of the fabric for some reason.
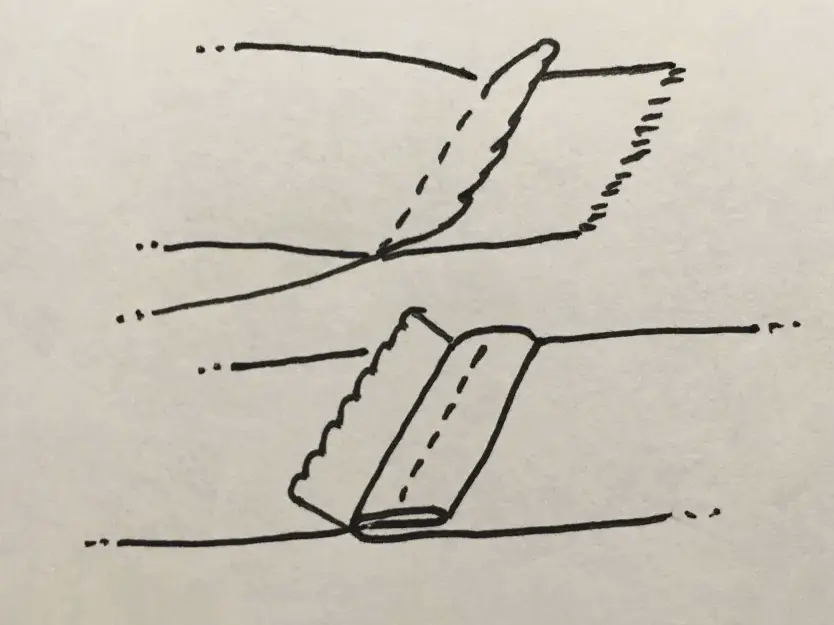
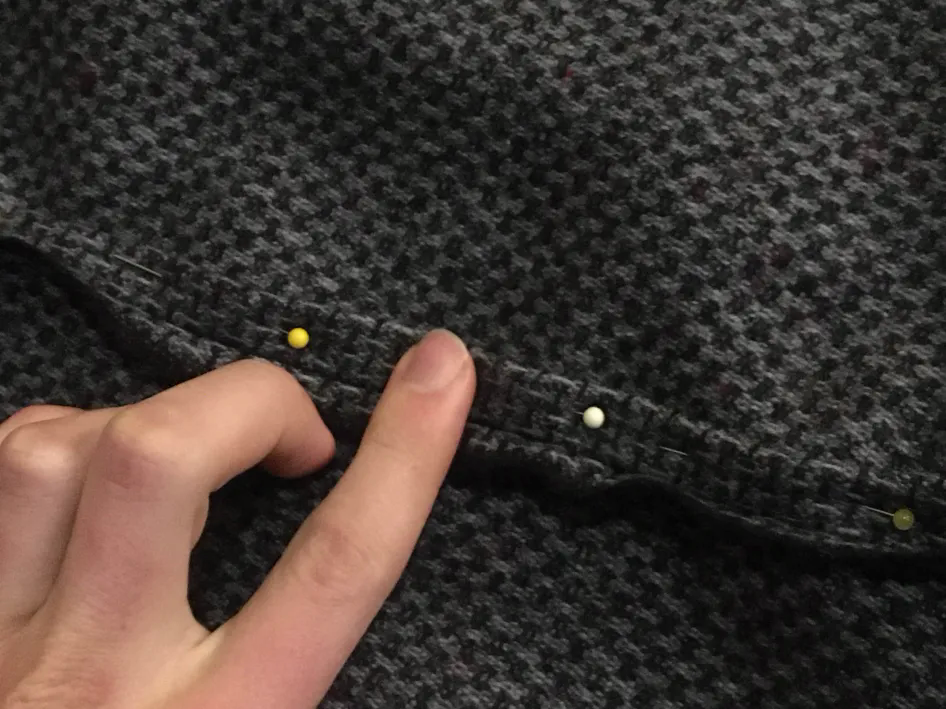
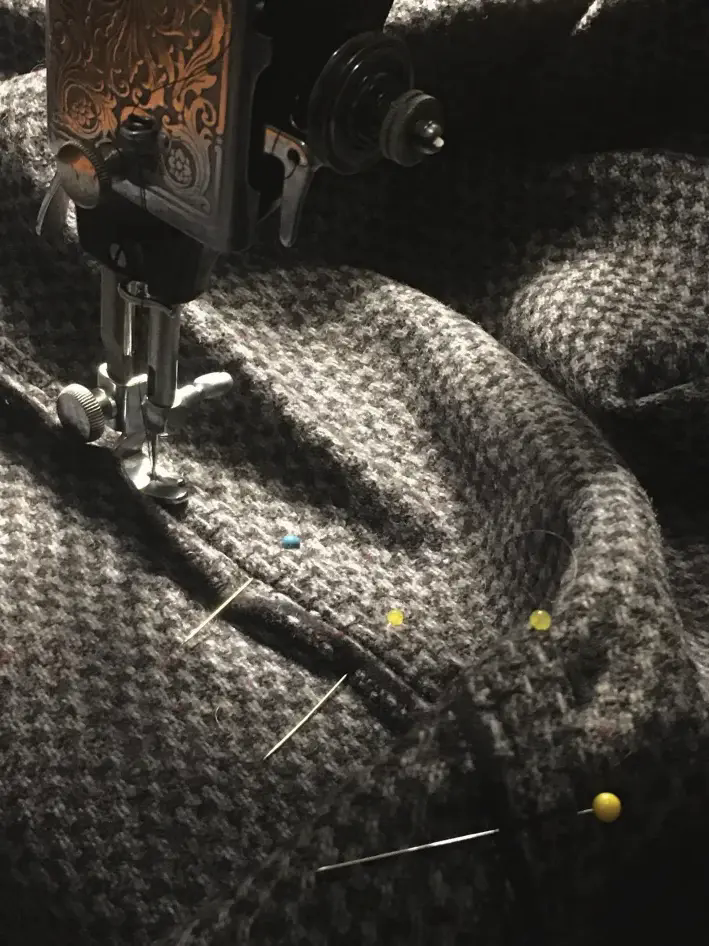
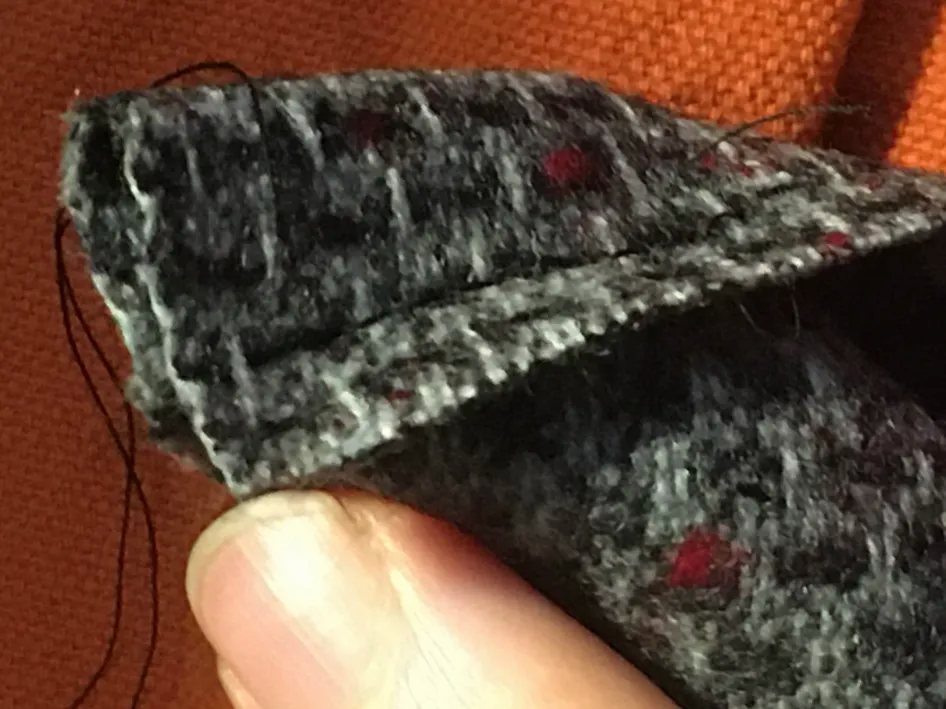
after we've stitched up the side of the panels we fold over the salvage edge of the panels around the side gap. also ran a small stitch across the bottom of the side gap to keep the panels for being ripped apart in that location.
once we had both sides of the panels stitched together, we finished the live edge around the bottom of the skirt. folds of 1.5ish cm.
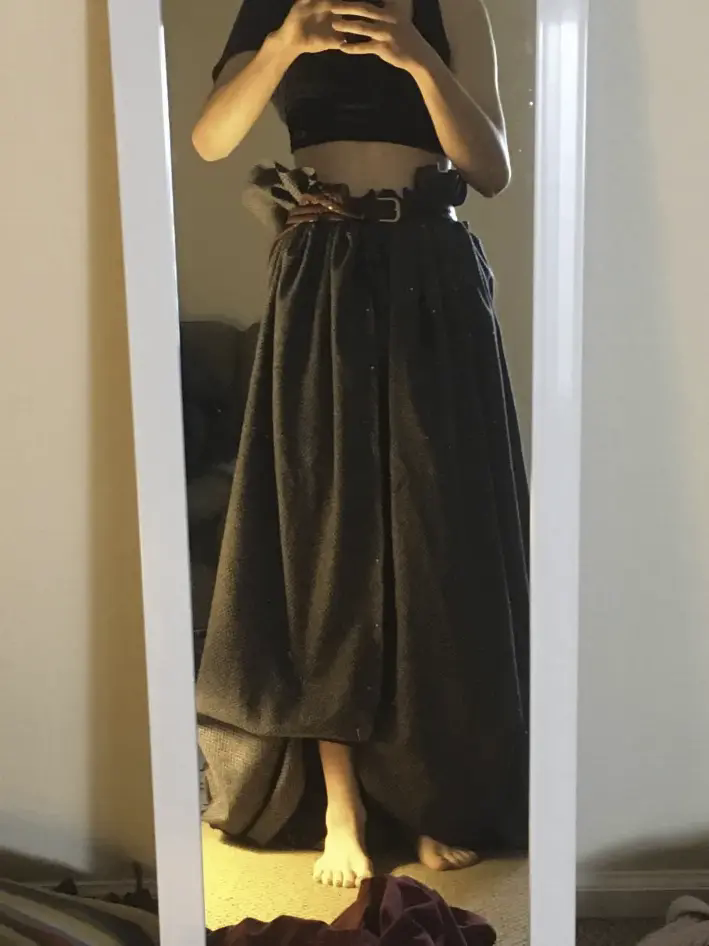
Pleating
spent alot of time figuring out what pleating pattern to do. eventually just went with this single direction pattern. didn't like how a center box pleat looked. so on the outside these knife pleats run counter clockwise and on the inside they point clockwise around the circumference of the skirt.
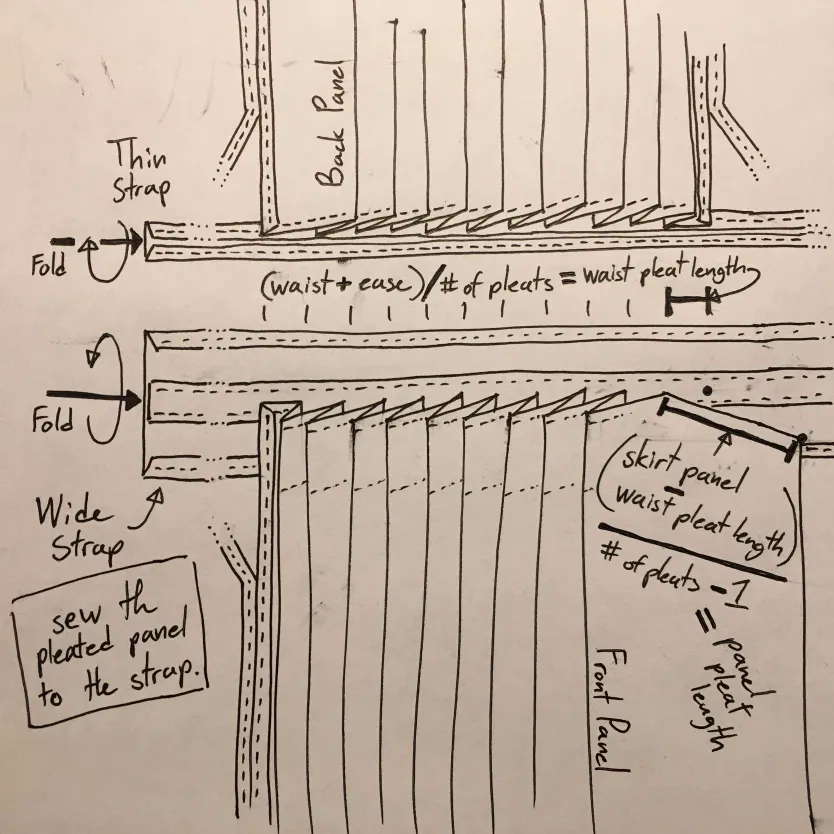

pleat measurements
- you want to mark the pleat locations on the waist band. this is (your waist circumfrance / 2) + ease from 2 to 6cm for overlap) / # of pleats. for me, my waist is 75cm around so,
(75 / 2 + 6) / 11 = 4.1ish cm. this means that there is 4.1cm between between each pleat pin. - we mark the positions for the pleats on the panel. from one edge we mark intervals of (panel width - waist band pleat width) / (# of pleats - 1), the reason for this is more obvious in the drawing above. if we divided the panel into the same number of equal sections as the band, then one of the knife pleats would fold off the edge of panel. so the far left pleat measurement on the panel should be the same the bands pleat width.
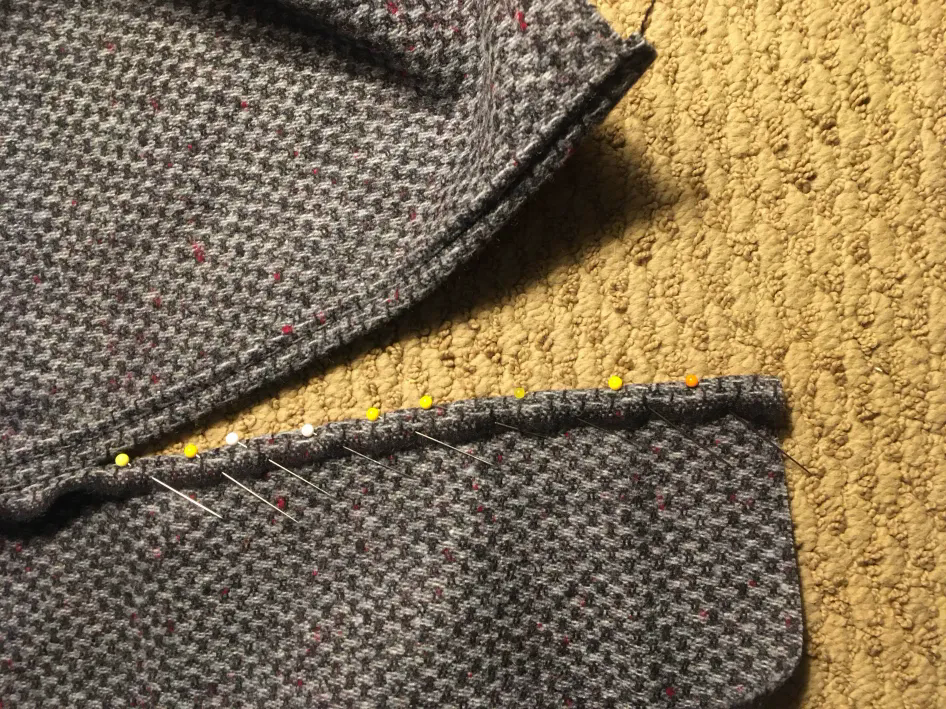
sticking the pleats in place
- attach the marked positions on the panel to the marked positions of the band with pins. then fold the the extra folds of fabric in the panel over to the left. The top of the panel should line up just bellow the center of the band, so when we fold the band over, both edges of the panel should meet in the same place.
- stich the pleated panel to the band. for the wider band i did stitches along the top and bottom. for the thin band i just did a stitch along the bottom. you can do extra stitches after you've folded the band over and pined everything in place.
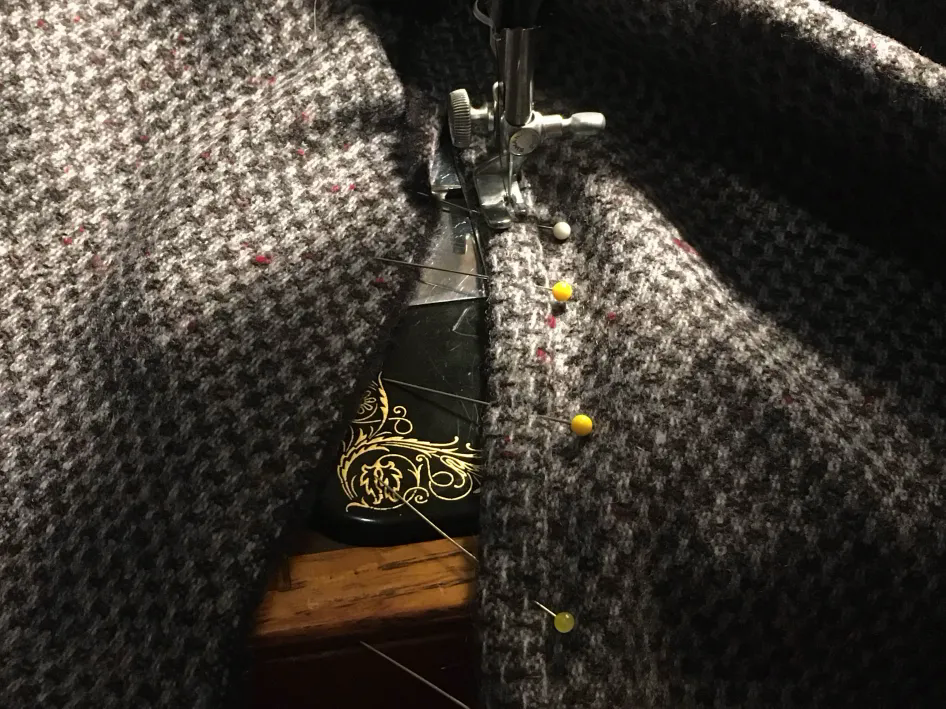
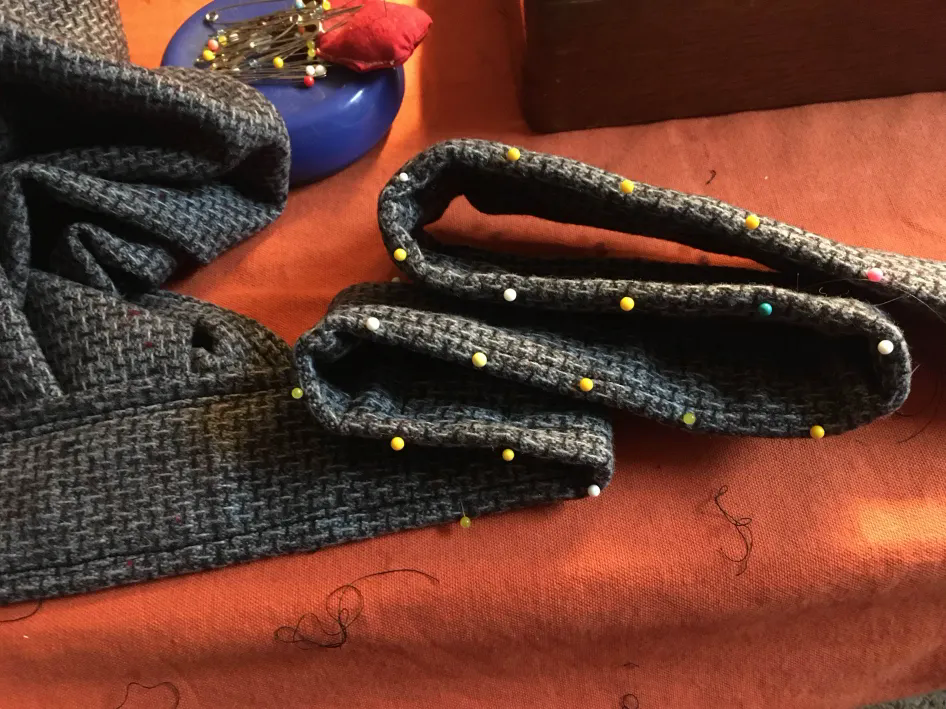
Finishing the Bands
after the pleated panel is stitched to the band we fold it over and stitch down the other side of the band. to finish of the band we run a stitch around the entire edge.
Embroidery
still kinda want to add texture to the front waist band. but when i first tried while the piece was off the panels was that the machine was scrunching up the fabric. might do some type of pattern now that the waist band is on the panels but i'll probably just leave it.
Pockets
the next project for this is to make a set of pockets.
How To Add Pockets To The Zero-Waste Skirt That ALWAYS Fits; Six Historical & Modern Pocket Ideas
thank you for reading! :D let me know if you would like more detail about a certain step, or if you think something could be explained better. happy sewing :)